

Last Updated on September 3, 2025 by maximosecrets
Contents
The Maximo Application Suite User Interface (UI) is based on a common design used by IBM called Carbon. The fonts, colours, and spacing used is documented in the Pattern Asset Library (PAL). Carbon and PAL affect other IBM software as well, not just Maximo, it will provide UI consistency across IBM software and will help to reduce the learning curve while providing a modern UI.
Mast Head

With MAS 9.1 the first thing you might notice is that the colours used in the Start Center are brighter. The links in the Quick Insert and Favourite Application portlets are also a brighter blue and spaced wider apart.

The Mast Head which you see right at the top of the screen will default to black with white writing, but this can be customised in the suite Administration – Configurations and User Interface Customization. The Company Name we modified to Maximo Secrets and the Product Name – MAS9.1 ALM Suite, the MaximoSecrets logo was also uploaded.

You can change the background colour, the CSS Customization tab is used for this. Many clients change the background colour so that it reflects the environment for DEV, TEST, PROD etc.
There was a change between MAS 9.0 and MAS 9.1, the header class changed from .bx–header to .cds–header. I don’t know what the .cds acronym stands for, perhaps Carbon Design System, at least that might be a way of remembering it. The current online documentation gives an example with .bx–header and that no longer works.
p#x7ynq::after { visibility: visible; content: “Maximo Secrets MAS9.1.1”; position: absolute; left: 0; top: 0; } p#x7ynq { visibility: hidden; position: relative; }
The text on line 4 adds Maximo Secrets MAS 9.1.1 above the panel on the right of the login page.
After completing the test, I have disabled the CSS Customization using the Enable CSS Customization toggle.

The four Mast Head buttons on the right are from left to right, Bulletins, Reports, Help, and Profile.
The top two Help items I use a lot; they are the help page for your current application and the System Information which provides the versions of all the products in your Maximo environment. If you raise an IBM Support case IBM will want a copy of the System Information.
You log out of Maximo from the Logout option at the bottom of the Profile menu. The Profile menu also has options for Manage Profile, Default Information, Personal Information and Set or Modify E-Signature Key.
Notice in MAS 9.1 there is no Suite level menu because that has been added to the Module Navigation bar on the left.
Module Navigation

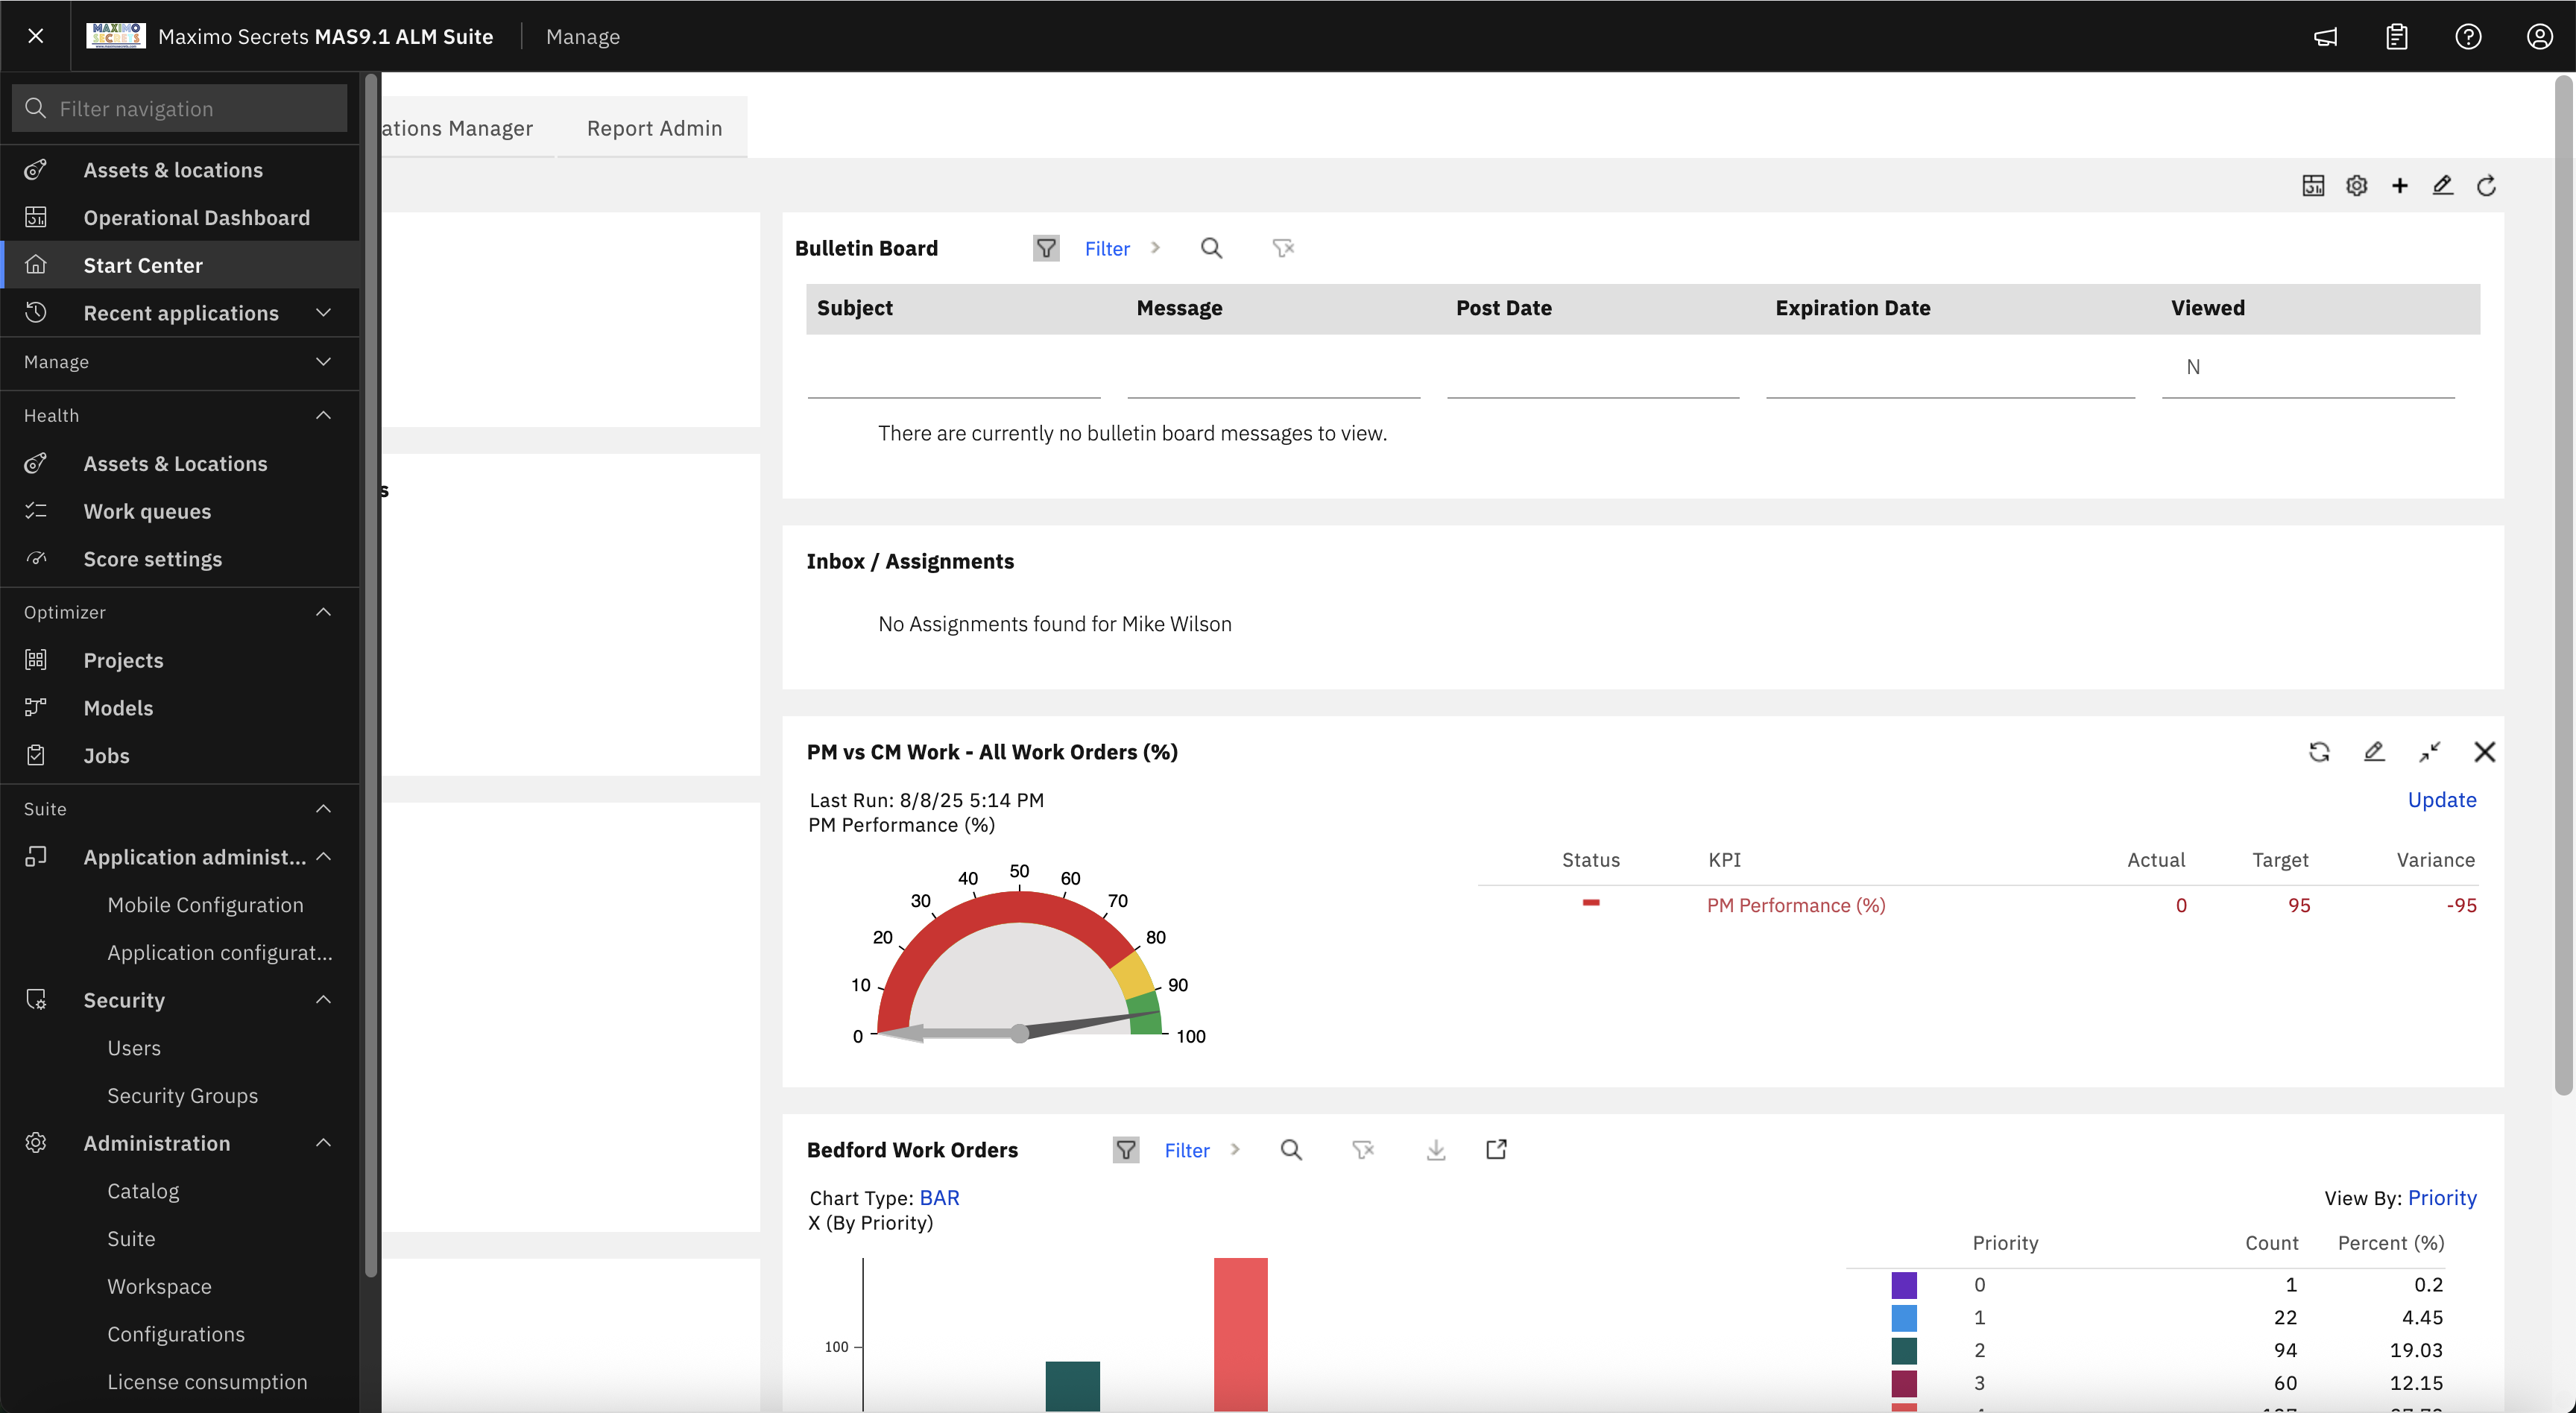
The Module Navigation bar on the left will open when you hover over it. The module containing your current application will be highlighted, Assets in the picture. Each module can be expanded/collapsed, the setting is retained for each module until you change it, this sometimes means I have several modules open at the same time, with the inevitable vertical scrolling. For most users who have access to a limited number of modules and applications this will not be a problem.
The button at the top left-hand corner of the Mast Head, to the left of the Maximo Secrets logo, will expand and pin the navigation bar at its expanded width. The issue with this is that it covers up the action menu in an application, therefore I doubt this will be used unless there is an option to slide the application to the right.
The Module Navigation bar has a Search bar at the top with the title Filter Navigation. This shows the results of what you type within the context of the module that the application exists in. A good test is to search for Service as there are several modules with applications with Service in their title.

There is now only one Module Navigation bar, it contains the other suite applications, and the MAS suite level administrative applications will be found at the bottom of the list. There is no right-hand suite navigation menu as was found in MAS 9.0.
I’ve pinned the Module Navigation bar open and collapsed the modules of Manage for the above screenshot. The Operational Dashboard, Start Center and Recent Applications will be found at the top. Looking down you can see my system has access to Health and Optimizer. There are then suite-level administration applications, split as follows:
- Application Administration – Mobile Configuration and Application Configuration, the tool for modifying the role-based applications, it no longer requires a separate Docker or Podman installation as it did in MAS 9.0.
- Security – Users and Security Groups. The Users application has been remodelled from earlier MAS versions and Security Groups is new in MAS 9.1 and will be an eventual replacement to Security Groups in Manage, which was renamed Security Groups (Manage). It only has a subset of capability of Security Groups (Manage) and will probably not be used yet.
- Administration – There are several applications, Catalog, Suite, Workspace, Configurations, License Consumption, Authentication, Configurations, and API Keys. The second Configuration option allows you to Administer User Sessions. I’ve raised an IBM Support case for the duplicate application name.
Application UI Changes

When you first go into an application you might notice a change to the colour for the application actions, they seem a bit brighter and perhaps spaced more widely apart. The buttons have also changed.
The Advanced Search now appears as a second search tool with a + sign and the three dots button beside it expands to open the action overflow menu where you can save and manage queries and bookmarks, etc.

The Action toolbar of a table is on the right and is pinned so that it is always visible when scrolling horizontally.

The Action toolbar from left to right:
- Clear Filter Fields – it is only visible when one of the table fields is being filtered
- Close Filter – notice when the filter row is shown it has a grey background; it will be a white background when the filter row is closed.
- Reload – to reload the data from the database
- Download – to download the table results to a spreadsheet
- Hide – the button changes when the table is hidden

When reviewing an application record to return to the List View you use the breadcrumb above the application title.
The long description button now changes to show when a long description is present, the button also receives a grey background when this is the case. You can compare it to the long description buttons for the LocationA physical place where assets exist and where work can be performed. More, Asset or Configuration Item in the screenshot above.
The other thing you will probably notice with MAS 9.1 which is different from MAS 9.0, Maximo has reverted to a check box for YORN fields which only have a value of 0 or 1 (Boolean). From MAS 8.4 through MAS 9.0 these were a toggle which when active had a green background, so we are now back to the check boxes that we had previously in Maximo 7.6.1.3.

I’ve navigated from the Asset field on the Work Order Tracking application to the Assets application and from there to the Locations application. The breadcrumb at the top left shows the navigation path and the Return button on the right will take you back to the Assets application. You can return directly to the Work Order Tracking by clicking this in the breadcrumb.
When you are in an application there will always be the link to the List View of that application. In the screenshot this will take you to the List tab of the Locations application, but if you used the Return button to go back to the Assets application, the List View will then be the List Tab of the Assets application.

The current tab of an application is highlighted with a blue line under the tab name. The set of tabs are also docked at the top of the application; I have scrolled vertically down but the set of tabs is still displayed.
For applications with a lot of tabs, like Work order Tracking (Tr) from the Transportation Industry Solution, chevrons appear at the end of the set of tabs so that you can navigate to other tabs, in the screenshot you can see > which when used will show the Service AddressA Service Address is a postal address and/or a record that positions a point on a map. More tab.
The drop-down button at the right-hand end of the tabs is missing from my system and I will find out whether there is a System Property for this or perhaps there is a defect.

At the top of an application’s action menu next to the Search – Find Navigation Item – is a chevron button (<) that will collapse the action menu making it much thinner, it is replaced with the opposite chevron button (>) which will expand the action menu.
This is a great feature for Maximo Scheduler users as it will add much needed real estate to the Gantt view.

For table windows the table details are now displayed beneath the record instead of at the bottom of the table. The screenshot shows the Assets application and Spare Parts tab and for asset 11400 there are three subassemblies. The table details for subassembly asset 11430 is shown beneath the table window row, instead of below asset subassembly 11460.

Field Help can now be shown for text boxes by clicking the field title, in addition to fn-option-F1 on a Mac OS or by using the Windows equivalent short cut. This doesn’t work for check boxes, and it doesn’t work for table window columns as clicking the column title changes the sort order. In the screenshot I have just clicked the field title – Type – of the Asset TypeThe Asset Type is used for grouping assets and is used in the Health application of the Maximo Application Suite. More field.
System Properties
The System Properties that effect the UI mostly start mxe.webclient, but there are others that start with webclient. There are a few I want to highlight. A list is available here, but it isn’t a full list – https://www.ibm.com/docs/en/masv-and-l/maximo-manage/cd?topic=properties-user-interface-system
mxe.webclient.ShowQueriesInToolbar

The System Property mxe.webclient.ShowQueriesInToolbar has a default of 0 and can be set to 1. After a Live Refresh a Query dropdown will appear in the application toolbar. After selecting a query, the first 15 characters of the query description will be shown. The Available Queries in the Application action bar, above Common Actions, is performing the same function.
The System Property mxe.webclient.ShowQueriesInToolbar has a default of 0 and can be set to 1. After a Live Refresh a Query dropdown will appear in the application toolbar. After selecting a query, the first 15 characters of the query description will be shown. The Available Queries in the Application action bar, above Common Actions, is performing the same function.
mxe.webclient.labelMultipartDescription

The System Property mxe.webclient.labelMultipartDescription has a default of false and can be set to true. After a Live Refresh the description part of a multipart text box will now have a label. In the screenshot this can be seen for the Asset’s Description and the Description of the Reliability Strategy. Further down the Description label is shown for Parent, Location and Rotating Item, as this is normally the text ‘Description’ you might choose to have this set with the default of false.
mxe.webclient.showTableHeaderNavKeys

The System Property mxe.webclient.showTableHeaderNavKeys has a default of 0 and can be set to 1. After a Live Refresh two buttons are added to the toolbar above a table window, the up arrow navigates to the previous record in the list, the down arrow navigates to the next record in the list.
mxe.webclient.paginationButtonsPlacement

For clients on MAS 9.0 the next page, previous page buttons are shown at the bottom of the page. The screenshot is showing the first 20 assets from a total of 576. An IBM Idea was raised to enhance this to make it more prominent and to avoid vertical scrolling if the default number of rows per page does not fit in the screen display.
Unfortunately, while this was coded for MAS 9.1 the script to add the System Property was left off, it is a known defect which should be enabled in MAS 9.1.2., the defect is DT444528 – https://www.ibm.com/mysupport/s/defect/aCIgJ0000002tA6WAI/dt444528?language=en_US
The System Property mxe.webclient.paginationButtonsPlacement will have a default of 0 placing the pagination buttons at the bottom right of the table. There will be two other values:
- 1 – which adds left and right arrow buttons to the number of records shown at the top left of the table window
- 2 – which adds the page navigation buttons at both the top and the bottom.
mxe.webclient.keepQueryFieldOpen

The System Property mxe.webclient.keepQueryFieldOpen has a default of false and can be set to true. After a Live Refresh the query field will be set open and to the left of the Search button which would normally be used to open the same field. The Search button is at the left-hand end of the tool bar and allows you to search on the key field of the application, for the Assets application it is titled Find Asset.
mxe.webclient.tableButtonPlacement

The System Property mxe.webclient.tableButtonPlacement has a default of 1 and it can be set to 0, 1 or 2. It controls the position of the action menu of a table window. The buttons used to be set below the table, and you can obtain this by setting the value to 0 and performing a Live Refresh. The default behaviour is now to click the Actions menu that creates a drop-down list with the same set of actions except for New Row which is available from the (+) button. The screenshot is when the System Property is set to 2.
A setting of:
- 0 – Adds actions only below the table
- 1 – Adds the actions to a drop-down list
- 2 – Adds the actions both below the table and from a drop-down list

When the same table has data, in this case two assignment records, without horizontal scrolling the buttons and table toolbar are both visible.

When you scroll horizontally in the table the buttons will go out of view, however, the table toolbar will be pinned and so the actions will always be accessible.
For many clients upgrading to MAS they may wish to retain the buttons below the table windows but showing the actions both above and below is I think preferable, and this is achieved with the setting of 2.
mxe.webclient.customPageHeader

The System Property mxe.webclient.customPageHeader has a default of false and it can be set to true. When set true and after performing a Live Refresh, then a banner opens at the top of each application below the Mast Head. The default is to show the user’s name and their Default SiteA structural element of a Maximo database that is used for data separation. More. It would be used by clients who have users that work in multiple sites as a reminder of the site in which they are inserting records.
This IBM Support page will help you understand how to customize this – https://www.ibm.com/support/pages/node/7091900